There are multiple ways to accomplish this but we will try to follow the most optimized way to accomplish this.
The goal is to deploy a simple .NET Core Web Application on Azure Virtual Machine running Windows Server.
Listed below are the steps on how to set up VM properly and deploy the .net core application on Azure Virtual machine.
A general word of advice is the order is very important here so perform all steps in order.
- Create a Virtual machine and make sure you are able to RDP into it.
- Assign a Static IP address and DNS name in the networking section of the VM
- on Virtual machine Add/Enable feature and role of Management service on VM
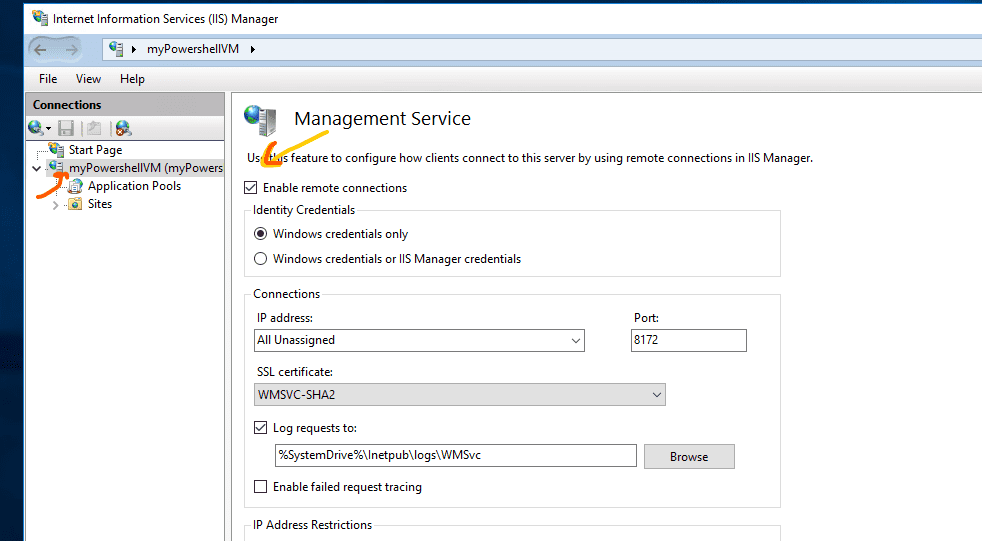
- on IIS enable the remote settings on Management Service.
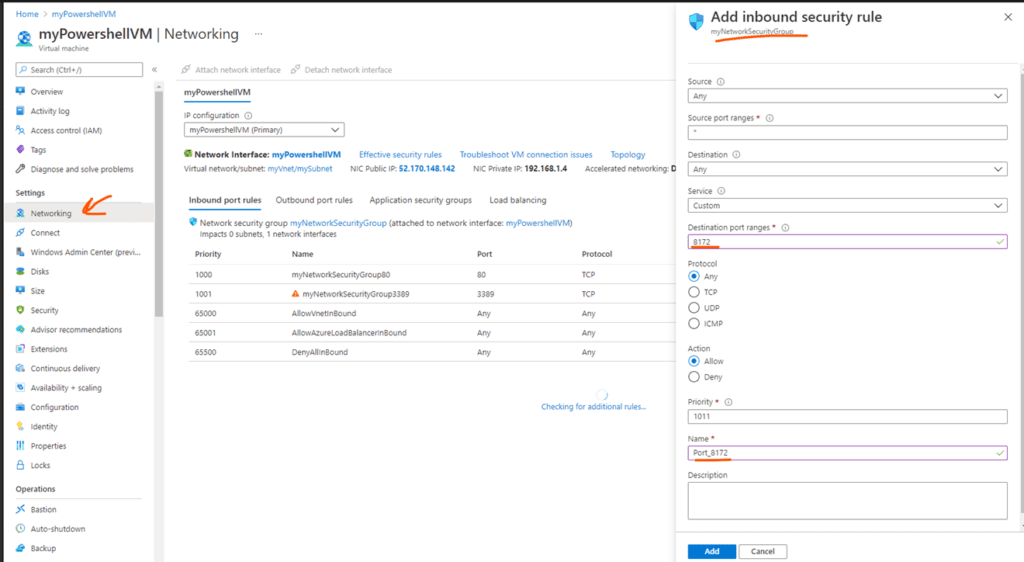
- Add an inbound role on the VM network table for port 8172
- make sure you turn off the advanced settings before installation
- Install .NET core Hosting Bundle
- Install Web Deploy on Virtual machine
- Create a .Net Core Web Application using Visual Studio
- Deploy the Web Application to Azure Virtual Machine
Step#1 Using Azure portal Create a virtual machine using PowerShell commands
Create a Resource Group Using Powershell by this command
New-AzResourceGroup -Name myZeeResourceGroup -Location EastUS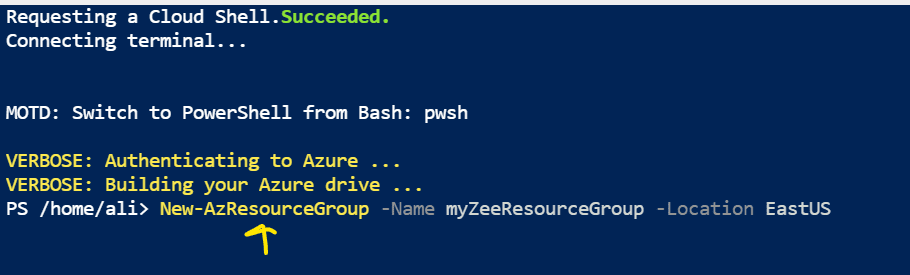
Create a Azure Virtual Machine using Powershell command – provide credentials as parameters and correct resource group name – we open port 80 for IIS and 3389 for RDP
New-AzVm `
    -ResourceGroupName "myZeeResourceGroup" `
    -Name "myPowershellVM" `
    -Location "East US" `
    -VirtualNetworkName "myVnet" `
    -SubnetName "mySubnet" `
    -SecurityGroupName "myNetworkSecurityGroup" `
    -PublicIpAddressName "myPublicIpAddress" `
    -OpenPorts 80,3389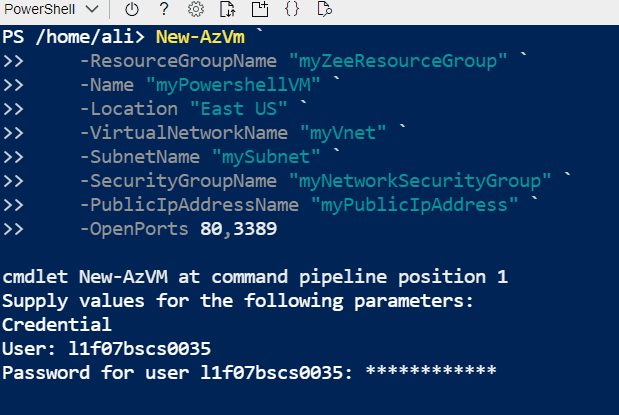
Get The Ip Address Using Resource group name
Get-AzPublicIpAddress -ResourceGroupName "myZeeResourceGroup" | Select "IpAddress"
Test the connectivity. Go ahead and RDP to the remote machine using IP + creds
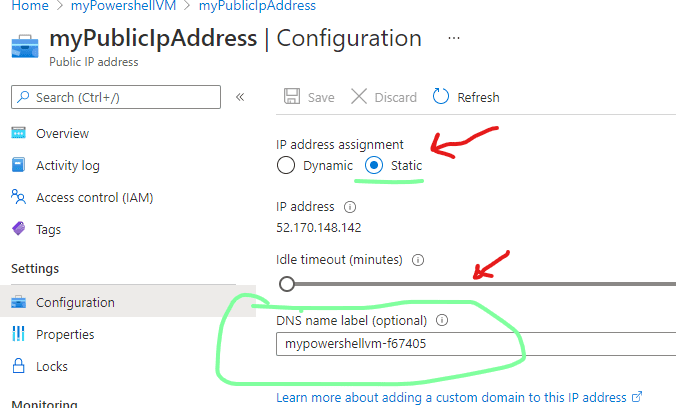
Step#2 Using Portal Make sure there is a Static IP address and DNS name in the networking section of the VM
Step#3 on Virtual machine we need to install IIS and Add/Enable feature and role of Management service on VM
Open PowerShell on a Virtual machine and run the following command – this is going to install IIS + Management Tool This can also be done using Server Manager User Interface.
Install IIS Using Powershell
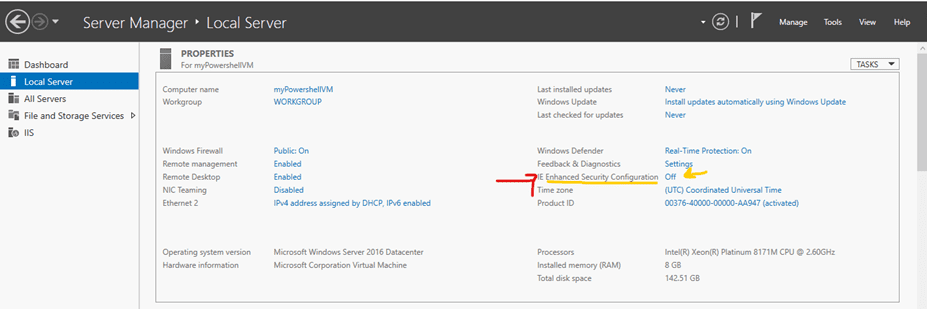
Install-WindowsFeature Web-Server -IncludeAllSubFeature -IncludeManagementToolsStep#4 on remote machine disable IE Enhanced Security Configuration – make sure it is turned off – This is inside Server manager – Local server tab as shown below.
Step#5 Enable remote connection in IIS – Management Service section – then click on Apply and start/Restart
Step#6 From azure portal Add an inbound role on the VM network table for port 8172 – we need to open this port so incoming request for deployment is allowed.
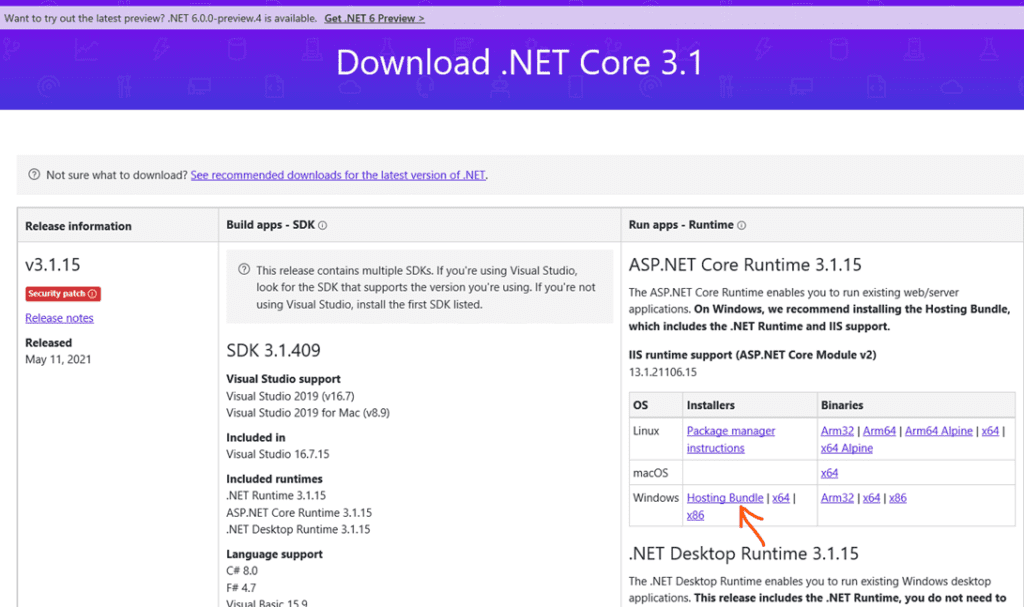
Step#7 Install .NET core Hosting Bundle on Virtual machine for your .net core run-time 3.1 or 5 . this version should be the same as your application you want to deploy. I went for 3.1 which is the current LTS version as of writing this guide. The link is provided below for assistence.
https://dotnet.microsoft.com/download/dotnet/3.1
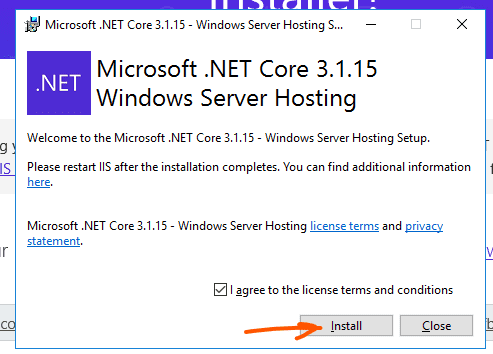
click on Install
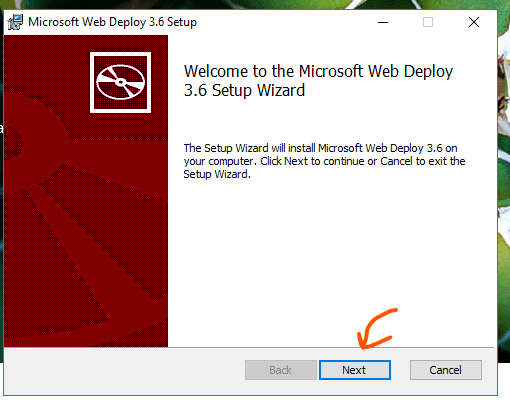
Step#8 Install Web Deploy 3.6(latest as of writing this article) on Virtual machine
https://www.microsoft.com/en-us/download/details.aspx?id=43717
Step#9 Create a .Net Core Web Application using Visual Studio
you can use Visual Studio to create a basic .Net Core web application – creating a .net core web app is out of scope of current discussion.
Step#10 Create a Publish profile and deploy application
Right click on your solution and select publish. You will have to login into your azure account that has subscription to move forward from here and this should be same account where you created the virtual machine.
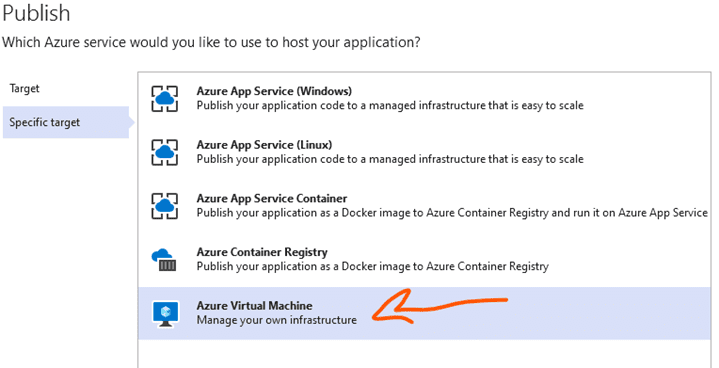
Select Azure Virtual Machine as target.
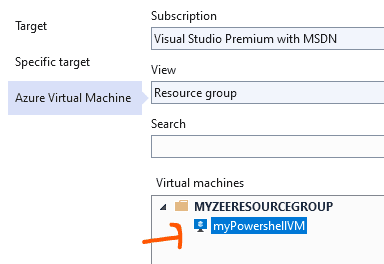
Select the Virtual machine name you created earlier
next save and Click on Edit Profile to give password and validation connection
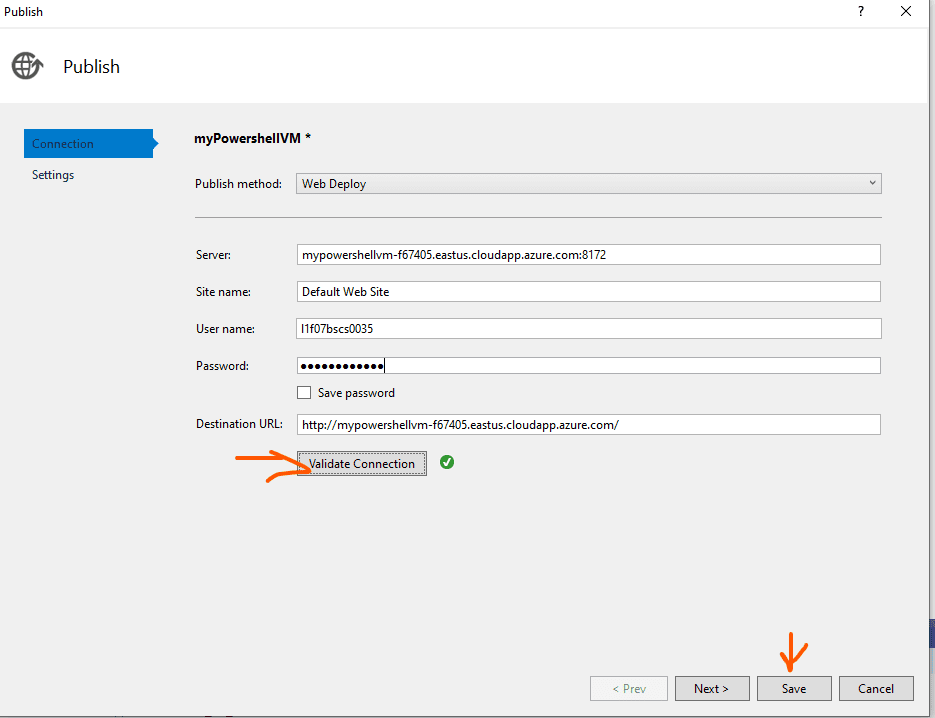
Click on Save and then Click on Publish

The browser should open the application homepage or else visit the URL in the publish window SITE URL as listed on publish profile.

spironolactone eye side effects spironolactone eye side effects
synthroid interacciones synthroid interacciones
ivermectin ebay ivermectin ebay
MobiApp AI – True Android & iOS Mobile Apps Builder (Zero Coding Required) https://ext-opp.com/MobiAppAI
voltaren emulgel vs voltaren gel voltaren emulgel vs voltaren gel

 dotnet linux : How to Install .NET core 6 on Ubuntu 22.04.1 LTS
[…] https://decatechlabs.com/deploy-net-core-web-app-from-visual-studio-to-azure-windowss-virtual-machin… […]